Master the Art of Installing and Using SAP GUI in Just 18 Simple Steps!
Here’s your easy guide to downloading and setting up SAP GUI on Windows without any hassle! Follow the steps, and you’ll be up and running in no time. If you have any questions or need help at any point, don’t hesitate to contact our friendly support team at "support@sapserver".in. We’re here to make the process smooth and stress-free for you!
INTRODUCTION
Explore how easy it is to download, set up, and manage SAPGUI with this step-by-step guide. Your complete resource for a smooth and seamless implementation. Ready to begin? Let’s get started!
What is SAP GUI?
SAPGUI is a powerful integrated development environment (IDE) designed by SAP for managing SAP HANA databases. It provides developers, administrators, and data modelers with a versatile toolset to design, optimize, and oversee their SAP HANA systems effectively. Serving as a key component in the SAP HANA ecosystem, it simplifies development and management tasks, ensuring efficient utilization and optimization of the SAP HANA database platform.
Hardware & Software requirements
Available to all users at any time, even post-installation, for essential maintenance like patch distribution. Ensure a broadband network connection for high-speed data transfer, adequate free disk space for all SAP front-end components, and a Windows server as the operating system.
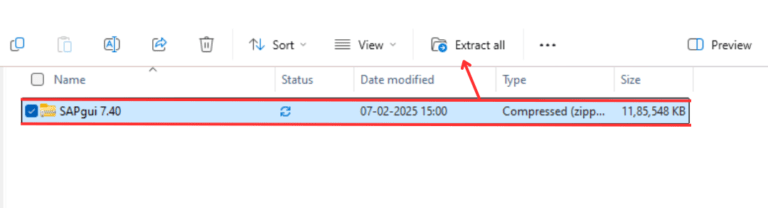
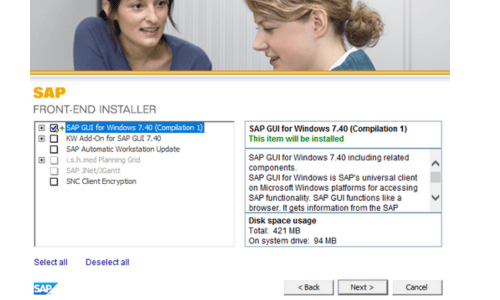
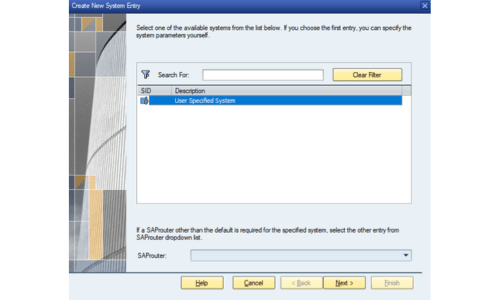
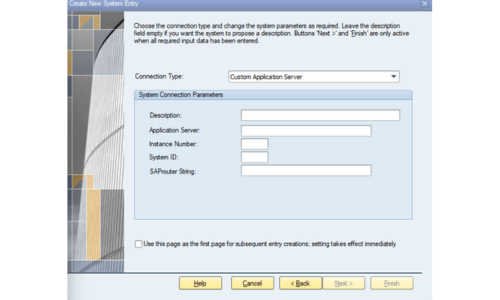
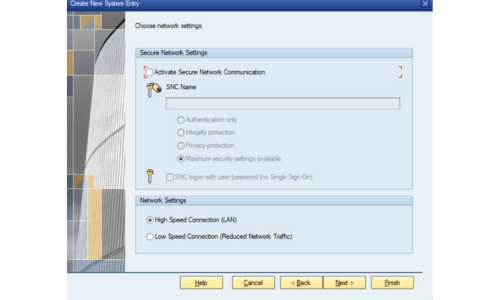
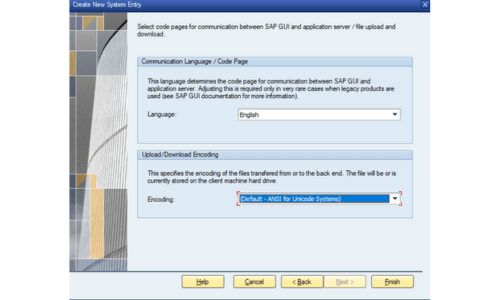
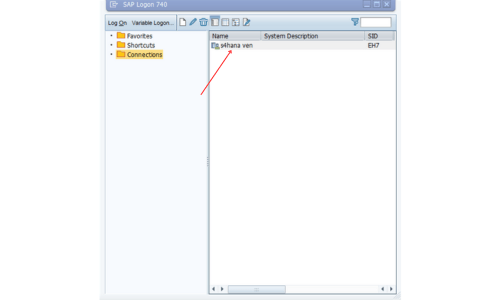
STEP 1: Click the link below or Download option in Right segment to access and download SAP GUI.